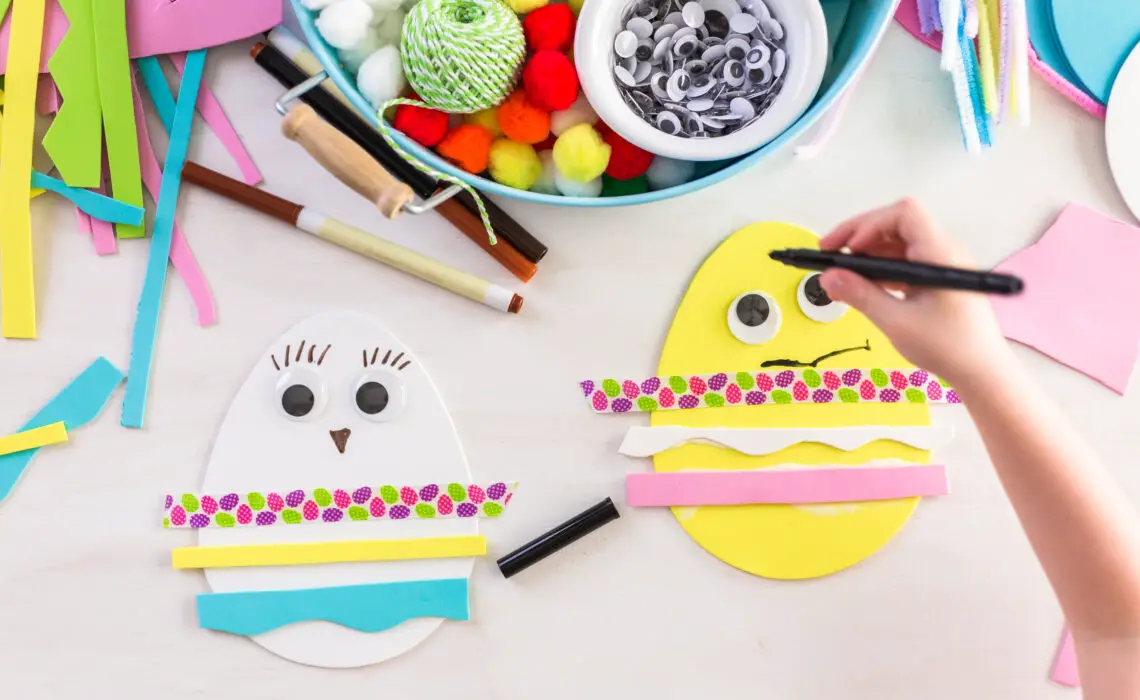
Easter is just around the corner and, if you’re anything like us, you’re already in full-on crafting mode as you prepare for all the festivities. From egg hunts to Easter bunnies, this special holiday brings a lot of joy and fun for the whole family. If you have little ones to entertain, why not create something special with them and make an Easter bonnet? Read on for our easy guide to creating the perfect Easter bonnet for your little ones!
Introduction
It’s that time of year again! The weather is getting warmer and the days are getting longer, which can only mean one thing: Easter is on its way! And what better way to celebrate than by making Easter bonnets with your little ones? Whether you’re a first-time bonnet maker or you’ve been doing it for years, this guide will help you create the perfect Easter bonnet for your little ones. We’ll cover everything from choosing the right materials to adding the finishing touches. So let’s get started!
What Materials You Will Need
When it comes to creating the perfect Easter bonnet for your little ones, there are a few materials you will need. First, you will need a bonnet base. This can be made out of paper or fabric, and can be any shape or size that you like. Next, you will need some decorations to add to your bonnet. These can include ribbons, flowers, feathers, or anything else you can think of! Finally, you will need a way to attach your decorations to the bonnet. This can be done with glue, tape, or even stitches. Now that you know what materials you will need, it’s time to get started on creating the perfect Easter bonnet for your little ones!
Step By Step Guide to Making an Easter Bonnet
It’s that time of year again where the weather is starting to get warmer and the days are getting longer – which can only mean one thing, Easter is on its way! And what better way to celebrate the occasion than by making your very own Easter bonnet with your little ones? Here’s a step-by-step guide to making the perfect Easter bonnet for your little ones: 1. Firstly, you will need some supplies. For this project you will need some card or thick paper, scissors, glue, ribbon, and any other decorations you would like to add (e.g. feathers, sequins, buttons). 2. Once you have gathered all of your supplies, start by cutting out a basic bonnet shape from your card or paper. If you’re not sure what shape to go for, take a look at some pictures of traditional Easter bonnets for inspiration. 3. Once you have cut out your bonnet shape, decorate it however you like! You could paint it, add embellishments or even cover it in glitter. Let your imagination run wild! 4. Once you’re happy with your decorated bonnet, it’s time to add the finishing touches. Cut a length of ribbon and glue it to the inside of the bonnet so that it can be tied under your little one’s chin. Then, add any final embellishments such as feathers or sequins. 5. And there
Creative Ideas for Different Easter Bonnets
If you’re looking for some creative ideas for Easter bonnets this year, we’ve got you covered. From simple and chic to fun and festive, there’s a bonnet for everyone. For the minimalist, try a classic straw hat adorned with a pretty ribbon or some fresh flowers. If you’re feeling crafty, get creative with embellishments like pom-poms, feathers, or even Easter eggs. And for those who want to make a statement, go big with an over-the-top design that will surely stand out in the crowd. No matter what your style, there’s an Easter bonnet for you. So get creative and have fun!
Tips for Making a Lasting Easter Bonnet
When it comes to Easter, one of the most important traditions is creating the perfect Easter bonnet. Here are a few tips to help you make a lasting Easter bonnet that will be cherished for years to come: 1. Choose high-quality materials: When it comes to Easter bonnets, you want to make sure you choose materials that are built to last. Look for hats made from sturdy fabrics like wool or cotton, and avoid cheaper options made from flimsy materials like paper or felt. 2. Reinforce the brim: The brim of your Easter bonnet is where all the decorations will go, so you want to make sure it’s strong enough to support everything. Use a hot glue gun or fabric glue to reinforce the brim before adding any decorations. 3. Add some personality: Make your Easter bonnet unique by adding personal touches like ribbons, flowers, or even bunny ears! Let your creativity shine through to make a truly one-of-a-kind hat. 4. Finish with a protective coating: Once you’ve added all your desired decorations, finish off the hat with a clear coat of spray paint or sealant. This will help protect your handiwork and keep your Easter bonnet looking great for years to come.
Conclusion
We hope this guide has inspired you to create the perfect Easter bonnet for your little ones. Whether you choose a classic style or go all out with something super creative, your kids are sure to look extra special on Easter Sunday. With just a few simple materials and some imagination, it’s easy to make an adorable hat that will have everyone asking where you bought it from!


