
Have you ever wanted your own one-of-a-kind piece of art to hang in your garden or backyard? Now you can with this step-by-step guide on crafting your own spider web! Learn how to create a masterpiece out of thread and dry branches that will surely be the envy of all your friends and family.
Introduction to Spider Web Art
Whether you want to add a spooky touch to your home for Halloween or you’re just looking for a unique piece of outdoor art, crafting your own spider web is a fun and easy project. Plus, it’s a great way to recycle old items that you might otherwise throw away. To get started, you’ll need some supplies. For the web itself, you can use any kind of string or yarn. If you want to add beads or other decorations to your web, gather those up as well. You’ll also need something to tie the web to, like a tree branch or fence post. Now it’s time to start creating! Tie one end of your string or yarn around the object you’re using as a base. Then, start winding the string around the base in a spiral pattern. As you go, leave some slack in the string so that the web has room to ‘breathe.’ When you reach the end of your string or yarn, cut it off and tie it securely to the base. Now step back and admire your handiwork! If you want, you can add more decorations now, like beads or fake spiders. Just be careful not to make your web too heavy, or it might sag in the middle.
Gathering the Materials Needed
You’ll need a few supplies before you get started on your spider web. First, you’ll need some sort of frame to stretch the web across. A hula hoop makes a great frame, but you can also use a large piece of cardboard or even a tree branch. Next, you’ll need some string or fishing line to create the web itself. You’ll also need something to attach the string to the frame – push pins or clothespins work well for this. Finally, gather up some leaves, stones, or other small objects to decorate your web with.
Preparing the Branches
To prepare the branches for your spider web, you will need to gather a few supplies. For this project, you will need: -A branch or two, depending on the size of the web you want to make -A saw (to cut the branch into pieces) -An axe or hatchet (to shave down the branch pieces so they are thinner and more flexible) -Rope or string -A hammer -Nails First, use your saw to cut the branch (or branches) into pieces. The length and thickness of the pieces will depend on how big you want your spider web to be. Once all of the pieces are cut, use your axe or hatchet to shave down each piece so that it is thinner and more flexible. This step is important, as it will make it easier to weave the branches together later on. Next, take your rope or string and tie one end around one of the shaved-down branch pieces. Then, start weaving the other branch pieces in and out of the first piece, creating a crisscross pattern. As you weave, use your hammer to nail each piece in place so that it doesn’t move around. Continue weaving until all of the pieces are used up and you have a sturdy spider web shape.
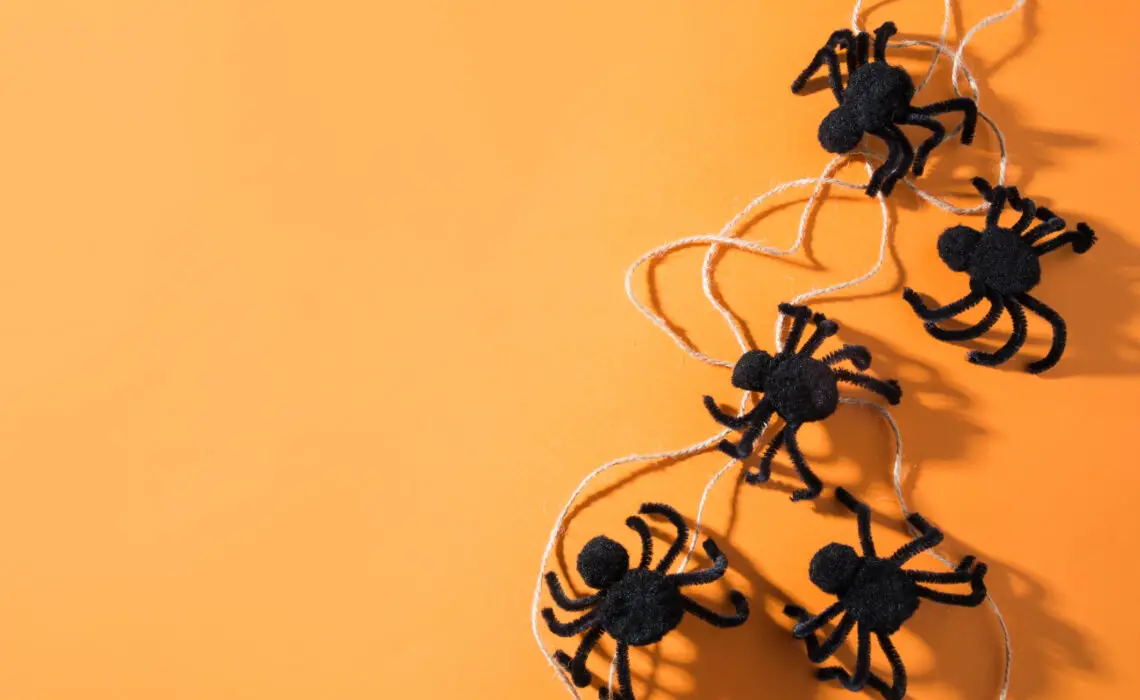
Preparing the Threads
If you’re looking to add a touch of uniqueness to your outdoor décor, why not craft your own spider web? It’s a relatively easy process and only requires a few materials. Here’s a step-by-step guide to creating your very own spider web: 1. Gather your materials. You’ll need some thin rope or string, scissors, and tape. 2. Cut the rope or string into lengths that are about 3 feet long. You’ll need anywhere from 12 to 20 pieces, depending on the size of web you want to create. 3. Tie each length of rope or string into a loop. Make sure the loops are all the same size. 4. Tape the loops together at the center point. This will be the center of your web. 5. Starting at the center, begin weaving the pieces outwards in a spiral pattern. Tape each piece in place as you go along. 6. Once you reach the desired size of your web, cut off any excess rope or string and tape down the end pieces. There you have it! Your very own spider web made from scratch!
Attaching the Threads to the Branches
If you’re looking for a unique and eye-catching addition to your outdoor décor, why not try your hand at crafting your own spider web? Here’s a step-by-step guide to help you create your very own piece of art: 1. Gather your materials. You’ll need some thin gauge wire, scissors, and tape. Optional materials include artificial spider webs (for added authenticity) and fake spiders (if you’re really going for the creepy-crawly look). 2. Attach the wire to the branches. Start by attaching the wire to one of the branches using tape. Then, continue wrapping the wire around the branch, making sure to keep it tight against the previous wraps. Once you’ve reached the end of the branch, cut off any excess wire and secure it with another piece of tape. 3. Repeat step 2 for each additional branch. 4. Create the webbing. Once all of the branches are wrapped with wire, it’s time to start creating the webbing. To do this, simply start tying knots in the wire between each pair of branches. The tighter you make the knots, the stronger your web will be. 5. Add finishing touches (optional). If desired, you can add artificial spider webs or fake spiders to your web for added effect.
Creating a Pattern
Making your own spider web is a great way to add some unique flair to your outdoor artwork. Here’s a step-by-step guide to creating your own spider web pattern: 1. Start by sketching out your design on paper. You can use a pencil or pen to make your sketch, but be sure to make it big enough so that you can see it clearly when you transfer it to your fabric. 2. Once you have your design sketched out, start tracing it onto your fabric with a sharpie or other permanent marker. Again, be sure to trace it big enough so that you can see it clearly when you cut it out. 3. Cut out your design from the fabric, being as precise as possible. 4. Now it’s time to start stitching! Begin at the center of your web and work your way outwards, using a running stitch or other basic stitch. As you stitch, keep the tension even so that your stitches are nice and straight. 5. Once you reach the end of your stitching, knot off the thread and trim any excess fabric from around the edge of your web. And that’s it – you’re done!
Hanging and Securing Your Work of Art
When it comes to hanging and securing your work of art, there are a few things you’ll need to keep in mind. First, you’ll want to make sure that the artwork is securely attached to the wall or surface. You can do this by using nails, screws, or even adhesive strips. Once the artwork is secure, you’ll need to decide how you want to hang it. There are a few different options available, including using wire, hooks, or even Velcro. Whichever method you choose, just make sure that the artwork is level and won’t fall off the wall.
Maintenance Tips for Your Spider Web Art
Your spider web art will be a beautiful and unique addition to your home, but it will require some maintenance to keep it looking its best. Here are some tips to help you keep your spider web art in top condition: -Clean your spider web art regularly with a soft, dry cloth. -Avoid placing your spider web art in direct sunlight or near heat sources, as this can cause the webbing to fade or become damaged. -If you notice any fraying or damage to the webbing, carefully trim away the affected area with sharp scissors. -If your spider web art becomes wet, gently blot the wet areas with a clean, dry cloth. Do not rub, as this can damage the delicate webbing.
Conclusion
Crafting your own spider web is a great way to create unique art that will be sure to impress everyone. With these step-by-step instructions, you can quickly and easily make your very own beautiful outdoor artwork that will add an extra layer of charm to any environment. So gather up some supplies, grab some friends, and get crafting – you’ll have your very own spider web in no time!


