
Crafting a nature treasure box is a great way to bring the outdoors into your home and experience nature in a unique and exciting way. In this article, we’ll walk you through step-by-step instructions on how to create an unforgettable home adventure with your own nature treasure box. So, if you’re ready to explore the wonders of the natural world right at your doorstep, read on!
Introduction
Welcome to the exciting world of crafting a nature treasure box! This activity is perfect for those who love spending time outdoors and exploring all that nature has to offer. With a little creativity, you can transform an ordinary box into an unforgettable home adventure. Here are the supplies you’ll need: 1. An empty cardboard box (shoe box size works well) 2. A selection of small treasures from nature such as leaves, acorns, rocks, etc. 3. Glue or tape 4. Scissors 5. Decorations such as ribbon, stickers, etc. (optional) Now let’s get started!
Gather Supplies
Assuming you have a basic understanding of woodworking and crafting, the supplies you’ll need to get started on your Nature Treasure Box are: -1/2′ thick plywood or MDF (medium density fiberboard) for the box bottom and lid -1/4′ thick plywood or MDF for the sides of the box -Wood glue -Sandpaper (100, 150, and 220 grit) -Stain or paint (optional) -Clear polyurethane (optional) -Latch hardware (optional) First, use a saw to cut your plywood or MDF into pieces according to the dimensions in the project instructions. If you’re using MDF, it’s important to make sure that all of your cuts are very straight, as MDF tends to splinter easily. Once all of your pieces are cut, use sandpaper to smooth any rough edges. If you’re planning on staining or painting your box, now is the time to do that. Once the stain or paint is dry, apply a layer of clear polyurethane to protect it. Next, it’s time to start assembling your box. Use wood glue and clamps to attach the sides of the box to the bottom piece. Make sure that the box is square by measuring diagonally from corner to corner; if both measurements are equal, then your box is square. Let the glue dry completely
Decorate the Box
Assuming you have a plain cardboard box, some basic supplies and a little imagination, you can turn it into an extraordinary nature treasure box! Here’s how: 1. Decorate the outside of the box with paint, markers, crayons, stickers, or whatever else you have on hand. Get creative and make it your own! 2. On the inside of the lid, draw or glue on a scene from nature – a forest, jungle, beach or anything else that inspires you. 3. Fill the bottom of the box with small treasures from nature such as leaves, shells, rocks, pinecones or acorns. Or get even more creative and add in some found objects like buttons, feathers or beads. 4. Finally, hide your treasures around your house or yard and invite your family or friends to go on a nature scavenger hunt!
Design an Activity Guide
Assuming you would like a detailed description of how to design an activity guide: When it comes to creating an unforgettable home adventure, one important element is having a great activity guide. This will help ensure that your little ones are kept entertained and engaged throughout the entire experience. Here are some tips on how to design an effective activity guide: 1. Keep it varied: Make sure to include a variety of activities in your guide so that there is something for everyone. You can mix and match different types of activities, such as crafting, playing games, exploring nature, or even simple scavenger hunts. 2. Make it age-appropriate: It is important to tailor the activities in your guide to the ages of the children who will be participating. This way, everyone can enjoy and get something out of the experience. 3. Be creative: Get creative with your activities and make them as fun and engaging as possible. Use your imagination and think outside the box! 4. Have a plan: Before you start putting together your activity guide, it is helpful to have a plan in mind. This will make the process much smoother and easier, and will help you stay organized throughout. 5. Don’t forget the little details: The small details are what will make your home adventure truly special and memorable. Be sure to include things like snacks, drinks, prizes, or anything else that will add to the fun!
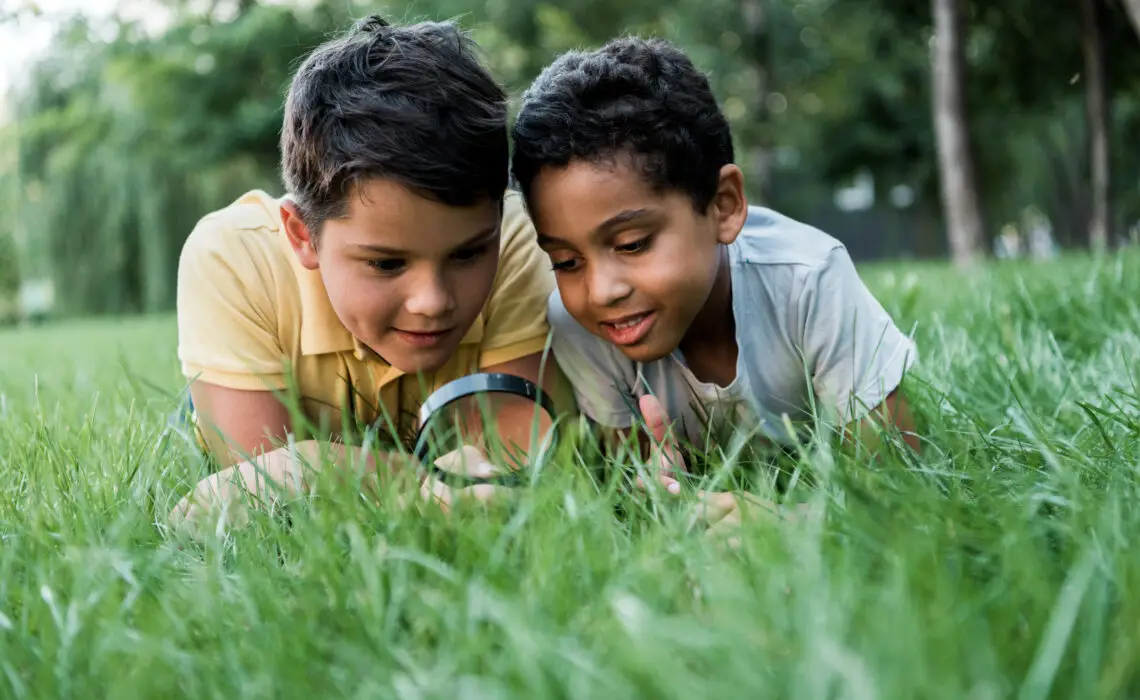
Plan Out the Nature Hunt
Before you embark on your nature treasure hunt, it is important to take some time to plan it out. This will help ensure that the hunt is both enjoyable and educational for your child. Here are a few things to keep in mind when planning your nature treasure hunt: 1. Choose a location: The first step is to choose a location for the hunt. If you have a backyard, that can be the perfect spot. However, any nearby park or nature reserve will also work well. Just make sure that the location is safe and easy for your child to explore. 2. Decide on a theme: Once you have chosen a location, you will need to decide on a theme for the hunt. This could be based on the season (e.g., looking for autumn leaves), the local wildlife (e.g., searching for bugs), or anything else that interests your child. 3. Gather supplies: Before setting off on the hunt, gather all of the supplies you will need, such as a Nature Journal, binoculars, magnifying glass, and so on. You can find a complete list of supplies here [LINK]. 4. Make a list of items to find: Once you have decided on a theme, make a list of items that your child should try to find during the hunt. This could be things like different types of leaves, flowers, rocks, shells, feathers etc. depending on what you have
Put Together the Nature Treasure Box
Assuming you have all of the materials listed in the intro, it’s time to put together your nature treasure box! 1. Start by finding a nice, flat spot outside to work on your project. You might want to lay down a blanket or old towel to keep things clean. 2. Next, use the hot glue gun to attach the googly eyes to the front of the cardboard box. Once they’re in place, set the box aside and let the glue cool. 3. While the glue is cooling, begin painting your wooden clothespins. You can use whatever colors you like – get creative! Once they’re dry, set them aside. 4. Now it’s time to decorate your treasure box! Use markers, paint, crayons, stickers, or anything else you can think of to make your box unique. 5. When you’re finished decorating, use the hot glue gun to attach the clothespins around the edge of the lid. These will be used to hold down your nature treasures when the lid is closed. 6. Now it’s time to fill your box with treasures! Go on a nature walk and see what you can find: leaves, flowers, rocks, sticks, acorns… anything goes! Be sure to ask an adult before picking any flowers from someone’s yard. 7. Once you’ve collected all of your treasures, put them in your box and close the lid. Your nature treasure box is now complete
Tips for Making a Successful Nature Treasure Box
Assuming you would like tips for the treasure box project: 1. Gather your materials ahead of time so you’re not scrambling at the last minute. This includes a box, paint, markers, scissors, glue, and any other decorations you might want to use. 2. Make sure the box is sturdy enough to withstand some wear and tear – after all, it will be used outdoors! 3. Plan out what you want to put in the box ahead of time. This could include items like leaves, stones, feathers, sticks, etc. 4. Once you have everything gathered, let your creativity flow and have fun with it! There’s no wrong way to decorate your nature treasure box. 5. Don’t forget to seal everything up tight with a lid so critters don’t make off with your treasures!
Conclusion
Crafting a Nature Treasure Box is an unforgettable way to bring the outdoors into your home. Not only can you provide your kids with hours of fun and exploration, but it’s also a great opportunity to teach them about nature and instill in them a love for the environment. With these simple steps, anyone can craft their own unique Nature Treasure box that will offer endless entertainment and education for children of all ages. So go ahead – start gathering those treasures from nature today!


