
Have you ever wanted to explore the wonders of geology with your kids but weren’t sure how? Then look no further! In this blog post, you’ll learn how to make a realistic sand volcano with just a few simple steps. So get ready for an adventure in the world of volcanoes – without the need to leave your backyard!
Introduction
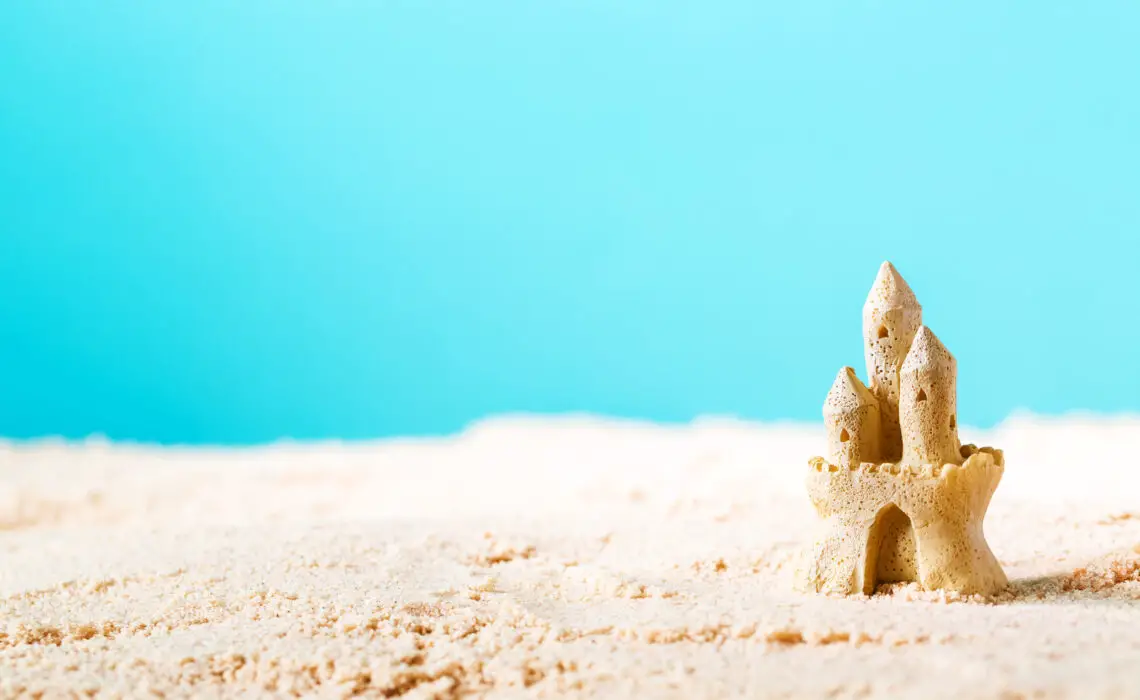
If you haven’t already, take a look at the pictures of volcanoes in this post. Notice how some are big and others are small. Some have lava flowing out of them and others don’t. Now that you know what a volcano looks like, it’s time to learn how to make your own! With a few simple supplies and these step-by-step instructions, you’ll be on your way to building your very own volcano in the sand. First, find a spot in the sand where you’d like to build your volcano. Then, use your hands to create a small mound. The mound should be about as tall as your fist and wide enough at the base so that it can support the rest of the structure. Next, begin creating the sides of your volcano by packing sand onto the mound. Once you’ve built up the sides to the desired height, use a plastic cup or your fingers to create a crater at the top of the volcano. This is where lava will eventually flow out! Now it’s time for the fun part: adding lava! To make lava, simply mix together 1/2 cup water with 1/2 cup baking soda. Then slowly pour this mixture into the crater you created earlier. Stand back and watch as your homemade lava flows out of the volcano!
Step-by-Step Guide to Building a Sand Volcano
Assuming you have all the materials needed, building a sand volcano is actually quite easy. Here’s a step-by-step guide: 1. Start by creating a mound of sand in the middle of your play area. This will be the base of your volcano. 2. Once you have your mound, use your hands to create a crater in the center. Make sure the crater is big enough to fit your container (we used a plastic cup). 3. Carefully place your container upside down in the crater. Gently pack sand around the base of the cup to secure it in place. 4. Now it’s time for the fun part! Mix together some water and food coloring to create lava. Pour this into your cup until it’s full. 5. Step back and watch as your volcano erupts! The lava should flow out of the crater and down the sides of the mound.
– Gathering Materials
One of the most fun things about making a volcano in the sand is gathering all of the materials. You will need: -A large container or basin in which to build your volcano. This can be a plastic storage bin, a sandbox, or even a large bowl. -Sand. Lots and lots of sand. -A small container for your lava. This can be a plastic bottle or cup. -Some rocks or pebbles. -A funnel (optional). -A spoon (optional). If you are using a sandbox or other large container, you may want to cover the bottom with some rocks or pebbles first. This will help to give your volcano some stability when you start adding sand. Start by scooping sand into your large container until it is about half full. Then, create a small hole in the center of the sand pile and place your lava container inside. If you are using a bottle, make sure that the opening is facing up. Now it’s time to start building! Slowly add more sand around the lava container, packing it tightly as you go. Continue until your volcano is as tall and wide as you want it to be. When you’re finished, take a step back and admire your handiwork! If you want, you can decorate your volcano with rocks or shells before moving on to the next step.
– Digging the Hole
Building a sand volcano is a classic beach activity that can be enjoyed by kids of all ages. The first step is to dig a hole in the sand. This can be done with a shovel, but it’s more fun to use your hands. Once you’ve dug the hole, it’s time to start building the volcano. The most important part of the volcano is the cone. This can be made out of sand, but it’s more stable if you use a bucket or other container. Once you’ve made the cone, it’s time to add the lava. This can be done with water and food coloring, or you can use actual lava if you’re feeling adventurous. Just pour it into the top of the cone and watch as it flows down the sides. If you want, you can even set off a mini eruption by adding some baking soda to the mix. Just be sure to stand back when you do it!
– Constructing the Cone Structure
Building a volcano in the sand is a fun and easy activity that can be done by kids of all ages. The first step is to construct the cone structure. This can be done by using a large cup or bucket to create a mold in the sand. Once the mold is created, use your hands to form the sand into a cone shape. Make sure that the cone is tall enough so that it will be able to hold all of the lava that you will be adding later. Once you are happy with the shape of your cone, set it aside and move on to the next step.
– Creating the Lava Flow
Assuming you would like tips on how to create a lava flow for your sandbox volcano: -Create an opening at the top of your volcano for the lava to flow out of. This can be done by excavating a small hole or simply removing some sand from the top of the volcano. -Make a lava mixture using red tempera paint and water. Start with more paint than water and add more water until you reach a consistency that is easy to pour. -Pour your lava mixture into the opening at the top of the volcano. Let it flow down the sides of the volcano, filling in any cracks or crevices. -Allow the lava to dry completely before playing with your sandbox volcano again.
Safety Considerations When Building a Sand Volcano
When building a sand volcano, there are a few safety considerations to keep in mind. First, make sure the area you are working in is clear of any obstacles. Second, if using hot water to create the eruption, be careful not to get burned. Third, use caution when handling the vinegar and baking soda, as they can cause irritation if they come into contact with your skin.
Tips and Tricks for Making the Best Sand Volcano
If you’re looking to build the best sand volcano possible, there are a few tips and tricks you can follow to make sure it’s as impressive as can be. Here are a few things to keep in mind: – Use a large, deep container for your volcano. This will give it a more realistic look and make it easier to build. – Make sure the sand is wet before you start shaping it. This will make it easier to work with and shape into the perfect cone. – Use a small object, like a pen or pencil, to create the hole for your lava flow. This should be placed near the top of your volcano for the best effect. – Finally, when you’re ready to add the lava, use red food coloring or paint mixed with water for the most realistic look. Just pour it into the hole you made and watch your volcano come to life!
Conclusion
Building a volcano in the sand can be an exciting and educational experience for kids of all ages. With our step-by-step instructions, you don’t have to worry about getting overwhelmed or not having enough materials. All you need is some sand, water, and creativity to create your own unique volcano masterpiece! And who knows? Maybe your mini eruption will ignite a passion that leads to more creative projects down the road!


