
Crafting with kids is a great way to not only keep them busy and entertained, but also to help foster their imagination. In this article, find out how you can make dream jars with your children – an activity that will give them the creative freedom they need to explore the depths of their imaginations!
Introduction to Dream Jars
Dream jars are a fun and easy craft that you can do with your kids. All you need is a jar, some glue, and some glitter. You can also add other things to your jar like feathers, beads, or sequins. The sky is the limit! To make your dream jar, start by glueing the lid of the jar to the bottom of the jar. Then, add some glitter to the inside of the jar. Next, add whatever else you want to your jar. Finally, screw on the lid and shake it up! Your dream jar is now ready to be used. To use it, simply hold it up to your ear and shake it. Listen to all of the wonderful sounds that fill your head while you drift off into a peaceful sleep.
What Supplies You Will Need
To make your dream jar, you will need the following supplies: -A clean and empty glass jar with a lid -A hot glue gun and glue sticks -A length of ribbon or twine -Scissors -A selection of small toys, trinkets, and treasures -Glitter (optional) First, wash and dry your glass jar to remove any dirt or residue. Then, use the hot glue gun to attach the ribbon or twine around the outside of the jar lid. Trim off any excess with the scissors. Next, it’s time to start filling your jar with inspiring objects! You can use anything you like, but we suggest using a mix of small toys, trinkets, and treasures. For an extra touch of magic, you can also add some glitter to your jar. Once you’re happy with your creation, simply screw on the lid and enjoy!
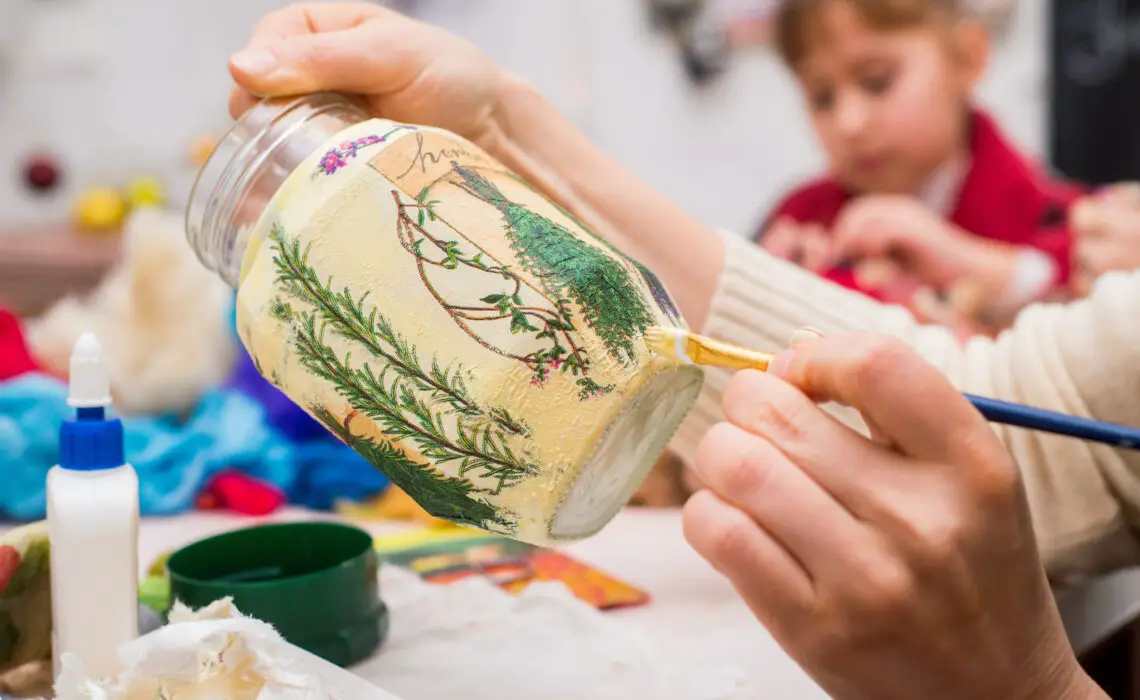
How to Make the Jars Step by Step
The first step is to gather all of the supplies. You will need: clear jars, lids, paint, glitter, glue, and any other decorations you would like to use. Once you have all of the supplies, it’s time to get started! Paint the lids of the jars with your desired color. We recommend using a light color so that the glitter will show up well. Once the paint is dry, add a layer of glue and then sprinkle on the glitter. Let the glue dry completely before moving on to the next step. Now it’s time to start decorating the outside of the jars! Get creative and use whatever materials you like. We used washi tape, stickers, and markers to decorate ours. Once you’re done decorating, screw on the lids and your dream jars are complete!
Explaining the Dream Jar Activity to Kids
The Dream Jar activity is a great way to get kids thinking creatively and using their imaginations. Here’s how to do it: 1. Give each child a piece of paper and a pencil. 2. Ask them to draw a picture of their dream. It can be anything they want! 3. Once they’re done, help them cut out their drawing and glue it to the inside of a clean, dry jar. 4. Finally, have them add some glitter or other decorations to the outside of the jar, if they like. 5. Now it’s time to imagine! What will happen when they open their dream jar? What will their dream look like?
Different Ideas for Decorating the Jars and Inserting Items Inside
There are all sorts of ways that you can decorate the jars and insert items inside to create a dream jar that will inspire imagination. You can use paint, glitter, stickers, and more to decorate the outside of the jar. Then, it’s time to fill it up with fun things! You can use small toys, feathers, beads, shells, and other treasures. Get creative and have fun!
Creative Ways to Use the Dream Jars
There are many ways to use dream jars with kids. Here are a few ideas: -Encourage kids to write down their dreams and hopes for the future on slips of paper and place them in the jar. -Use the jars as a way to help kids focus on positive thinking by having them write down something they are grateful for each day and placing it in the jar. -Help kids overcome their fears by having them write down what scares them on a slip of paper and then tearing it up and placing it in the jar. -Get kids excited about upcoming events or goals by having them write down what they are looking forward to on slips of paper and placing them in the jar.
Conclusion
Crafting with kids is a great way to spend quality time together and inspire their creativity. We hope that our instructions for making dream jars were helpful, and that you now have the tools necessary to make your own fun dream jar craft! Dream jars are an easy and enjoyable project for family members of all ages, so why not give it a try? Have fun exploring new ideas together and creating something delightful from everyday materials.


